November 4, 2026 · KHTUMEWARE Team
How to Replace Cabinet Pulls and Knobs Step by Step
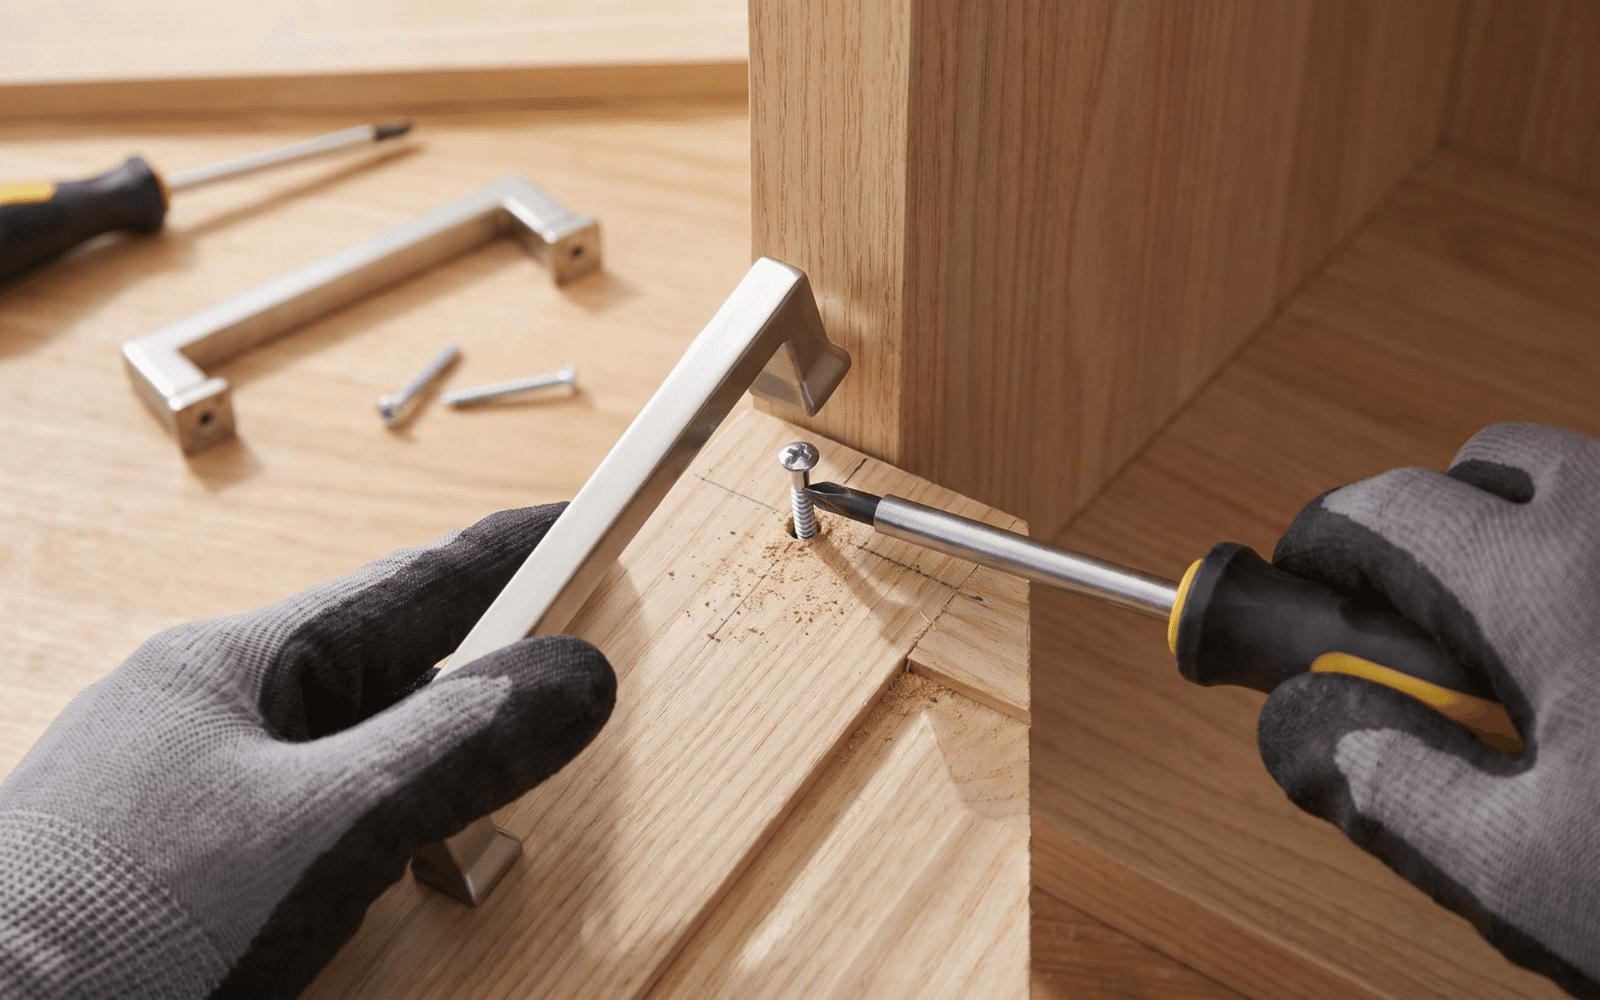
Replacing cabinet pulls and knobs starts with checking how the new hardware fits your existing cabinets. When the mounting holes and screws are compatible, you may be able to reuse the current holes. A different hole pattern, damaged panel, or unusual mounting method needs a separate installation plan.
This guide explains how to replace cabinet hardware one test piece at a time, from removing the first old pull to checking the finished installation. Follow the instructions for the selected product and cabinet construction throughout the project.
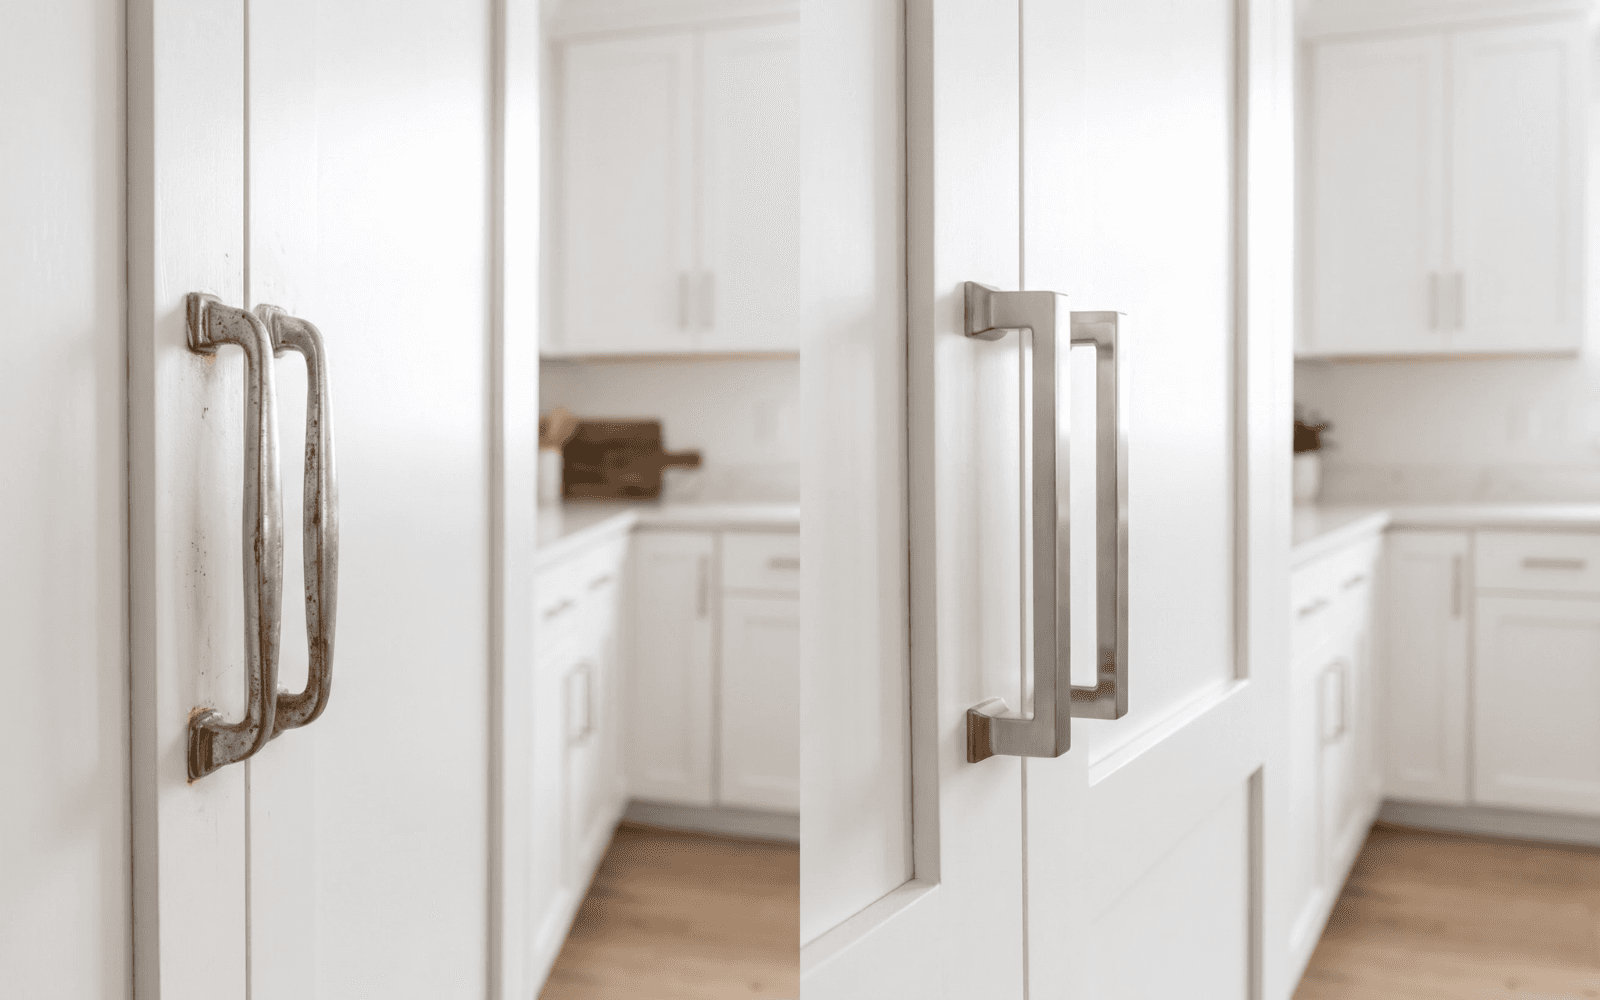
Before You Start Your Cabinet Hardware Replacement
Choose one representative door or drawer for a trial replacement before removing hardware throughout the room. If your kitchen uses several hardware sizes or different drawer constructions, check an example of each.
Review the selected product’s center-to-center hole spacing (CTC), overall dimensions, projection, screw requirements, and package contents. Projection is how far the hardware extends from the cabinet front. For knobs, check the listed dimensions and mounting method. Measure the full thickness the screw must pass through; on some drawers, this includes both the decorative front and the drawer box.
Keep appliance handles and integrated appliance panels outside this general replacement process. Their mounting requirements need to be checked against the exact hardware, appliance, and cabinet instructions.
1. Gather Tools and Organize the Hardware
Prepare a screwdriver that fits the screw head, a millimeter ruler or caliper, a soft cloth, and containers for removed pieces.
Group the new hardware by product, finish, and size. Keep screws with the products they belong to; similar-looking screws may have different threads or lengths.
Take a photo of the existing arrangement before starting. For a larger project, record which hardware belongs on each door or drawer. This helps prevent different variants from being mixed during installation.
2. Remove One Old Pull or Knob
Open the door or drawer so you can reach the mounting screws. Support the hardware from the front while loosening the screws from behind.
Set the removed piece and its screws aside. Keeping them provides a useful reference, but does not establish that the old screws will fit the replacement hardware.
Gently remove loose dust with a soft cloth and inspect the exposed area. Look for chipped finish, enlarged holes, cracks, and marks left by the old hardware base. Resolve damaged mounting areas before fitting the replacement.
3. Measure the Existing Holes and Check Coverage
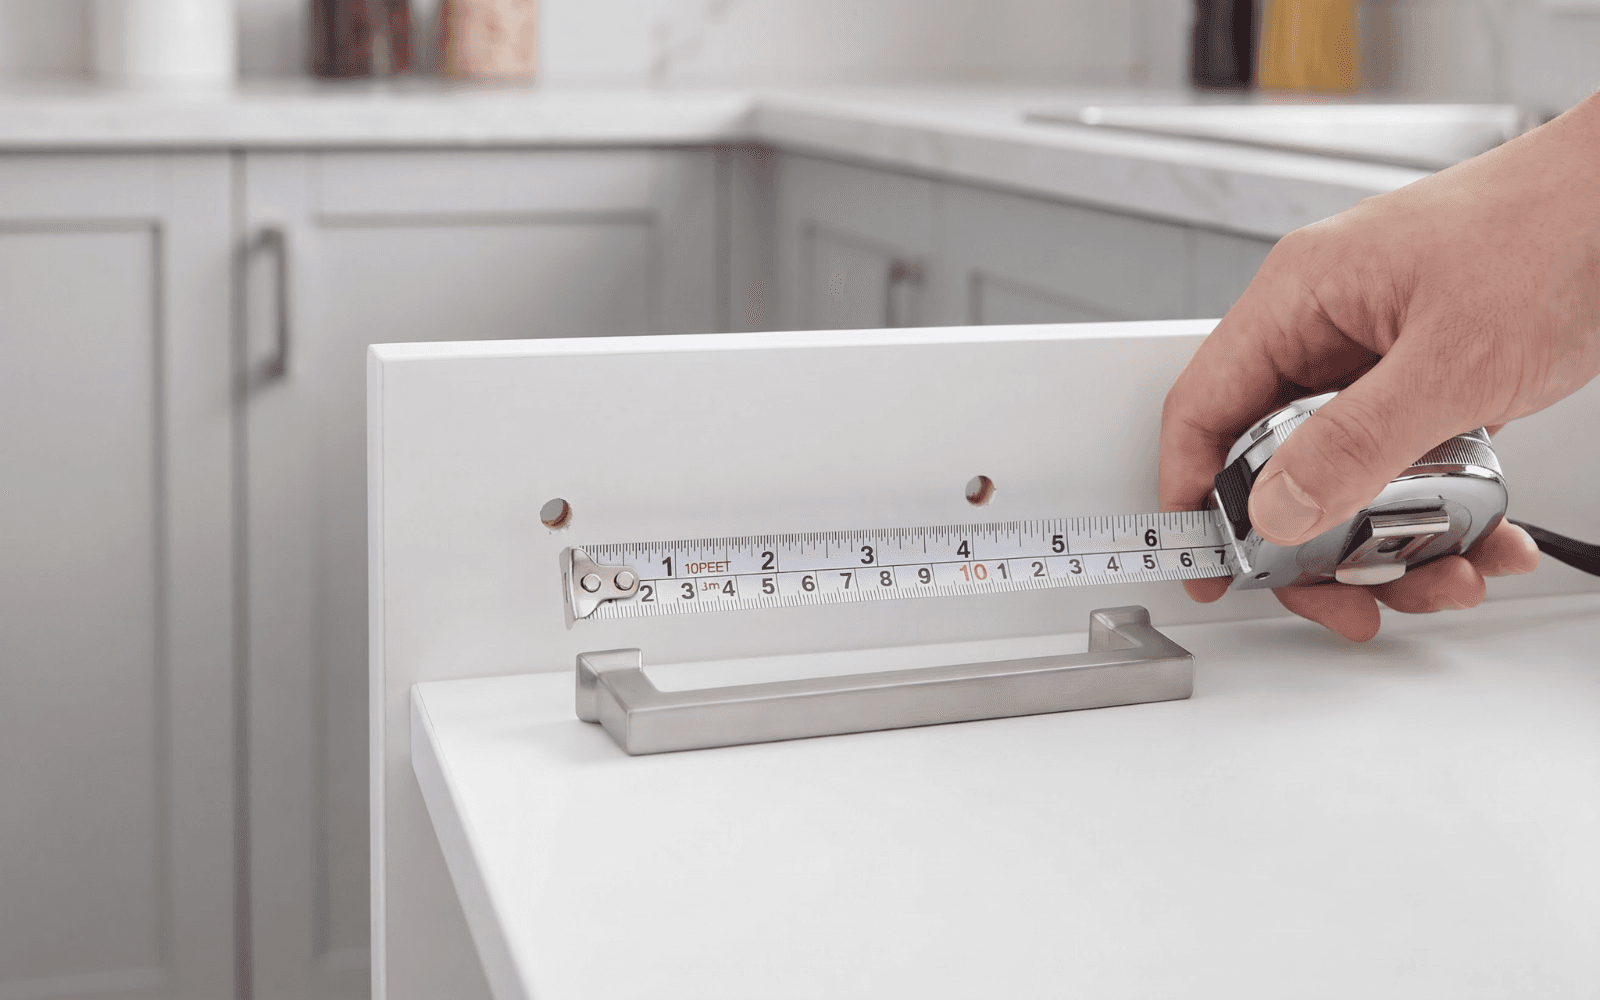
For a two-hole pull, measure the existing hole spacing from the center of one hole to the center of the other. Record the measurement in millimeters and compare it with the selected variant’s listed CTC.
CTC and overall pull length are different measurements. A replacement can look similar in length while having a different mounting pattern.
For a single-hole knob, check the hole position and the new knob’s base and overall dimensions. Compare how much of the cabinet surface the old and new bases cover.
Matching holes does not guarantee that a smaller replacement will conceal old impressions or discoloration. Check coverage before replacing the remaining pieces.
4. Test-Fit One Replacement
Hold the new hardware against the existing holes without forcing it into position. Check that the mounting points align and that you can reach the screws from behind.
Use screws confirmed as compatible with the selected product and panel thickness. Start them gently by hand. If a screw resists immediately, stop and check the thread and alignment.
If a screw stops turning before the hardware sits snugly against the cabinet, it may be too long and bottoming out inside the mounting hole. Do not force it. Check the specified screw length and panel thickness, then use a compatible screw of the correct length.
Before final tightening, check the space behind the grip and the hardware’s position beside nearby doors, drawers, and trim.
5. Tighten Gradually and Check Movement
For hardware designed to fasten from the back, support the front piece and tighten the screws gradually. On a two-screw pull, alternate between the screws to keep the piece aligned.
Stop when the hardware is secure. Overtightening can damage threads, finishes, or the cabinet panel.
Open and close the door or drawer through its normal range. Check for contact with adjacent hardware, walls, appliances, and nearby panels. Test the grip from the position you normally use.
Proceed with the remaining cabinets only after the trial piece fits securely and moves without interference.
When the Existing Holes Do Not Match
Do not force a pull into a different hole pattern. Recheck the measurement and selected variant first.
If the CTC differs, choose compatible hardware or plan how the old holes and new mounting points will be handled. A cabinet backplate may conceal some existing marks, but its dimensions and mounting arrangement also need confirmation.
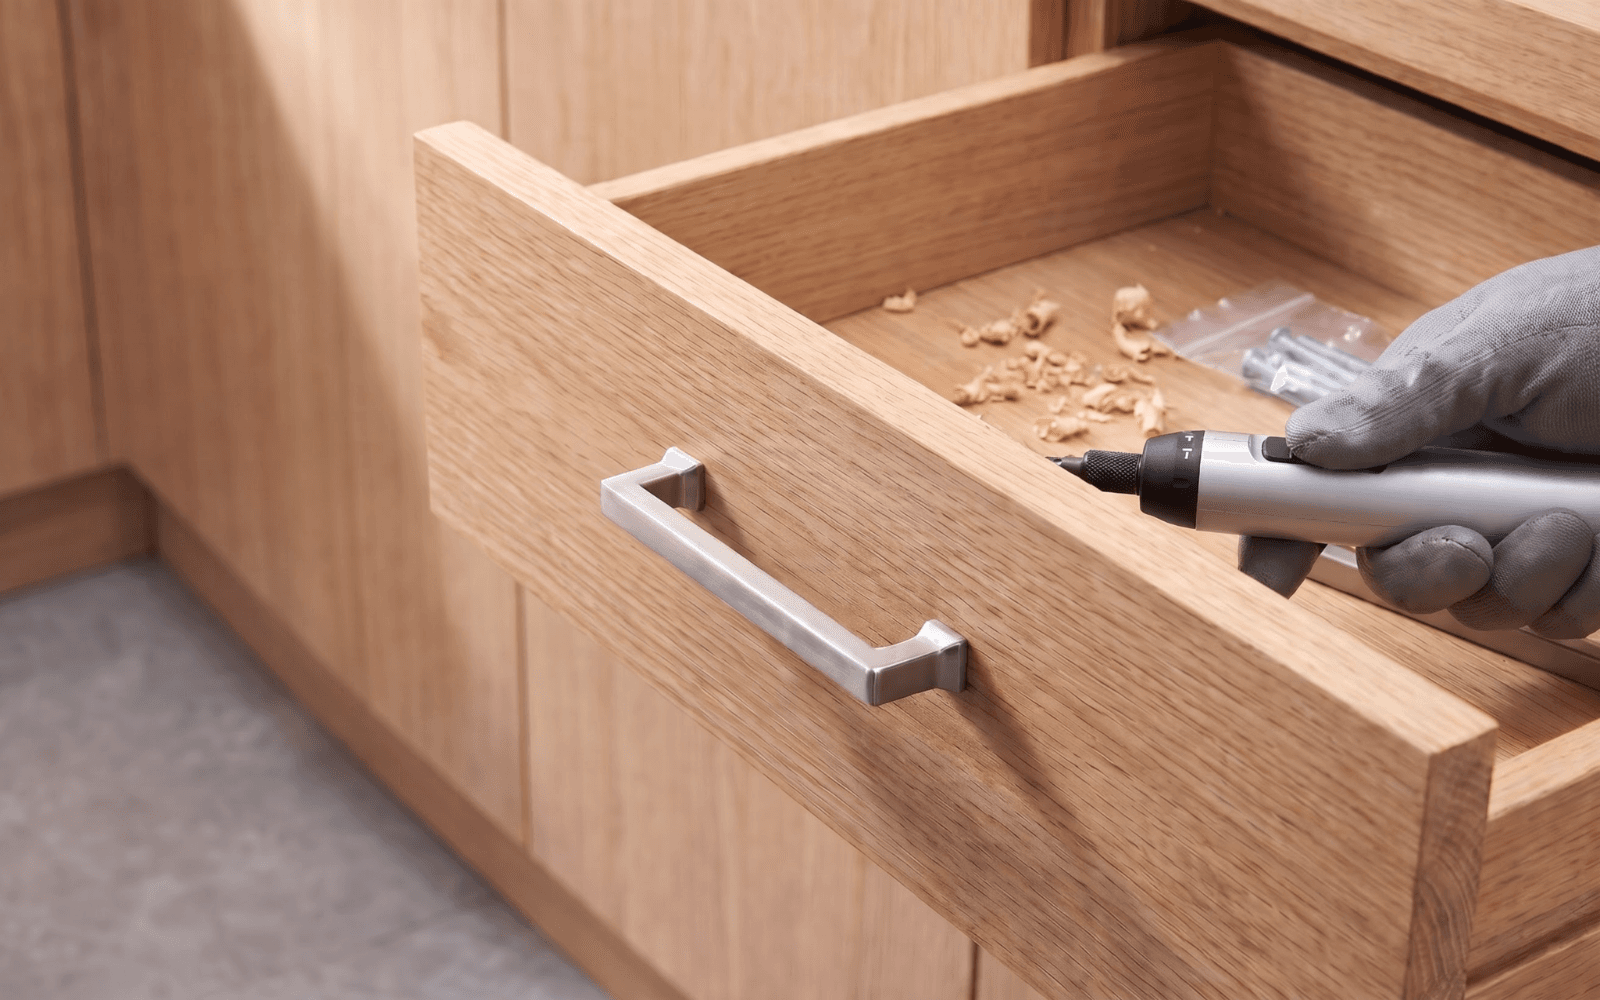
New drilling requires checks appropriate to the cabinet material and construction. Use an experienced installer if you are unsure about alignment, surface repair, hidden components, or drilling through glass, metal, or other unfamiliar materials.
Complete a Final Inspection
Check each installed piece for movement, alignment, and comfortable grip. Open and close every affected door and drawer.
View the finished hardware across several cabinet fronts to spot an incorrect size or inconsistent orientation. Wipe gently according to the applicable care instructions.
Keep the selected product links, variant details, and remaining compatible screws together. Recheck the installed hardware after initial use and investigate any movement before continuing to use a loose piece.
Frequently Asked Questions
Can I reuse the old screws?
Only if their thread, length, condition, and engagement are compatible with the replacement hardware and panel. Compare the requirements for the selected product. Keeping the old screws is useful for reference, but they should not be reused automatically.
Can I replace a knob with a pull?
Yes, but a two-hole pull requires two correctly spaced mounting holes. You may be able to reuse the knob’s existing hole as one mounting point if the pull’s position and clearance work. Otherwise, the original hole may need to be filled and refinished or concealed with a compatible backplate. Confirm the layout and CTC before drilling. See our cabinet pulls vs. knobs guide for help choosing between the two.
What if the replacement leaves an old mark visible?
Check whether a different base size or compatible backplate can cover it. Surface repair may be needed. Confirm the cabinet finish and repair method before sanding, filling, or applying a cleaning product.
Choose Your Replacement Hardware
Once you have recorded the measurements, browse replacement cabinet pulls or cabinet knobs, then compare the exact variants with your cabinets.
If screw compatibility or mounting details remain unclear, contact KHTUMEWARE with the product link, measurements, and clear photos of the mounting area before installation.